Category Archives: Tips and Tricks
Tips for bird photography
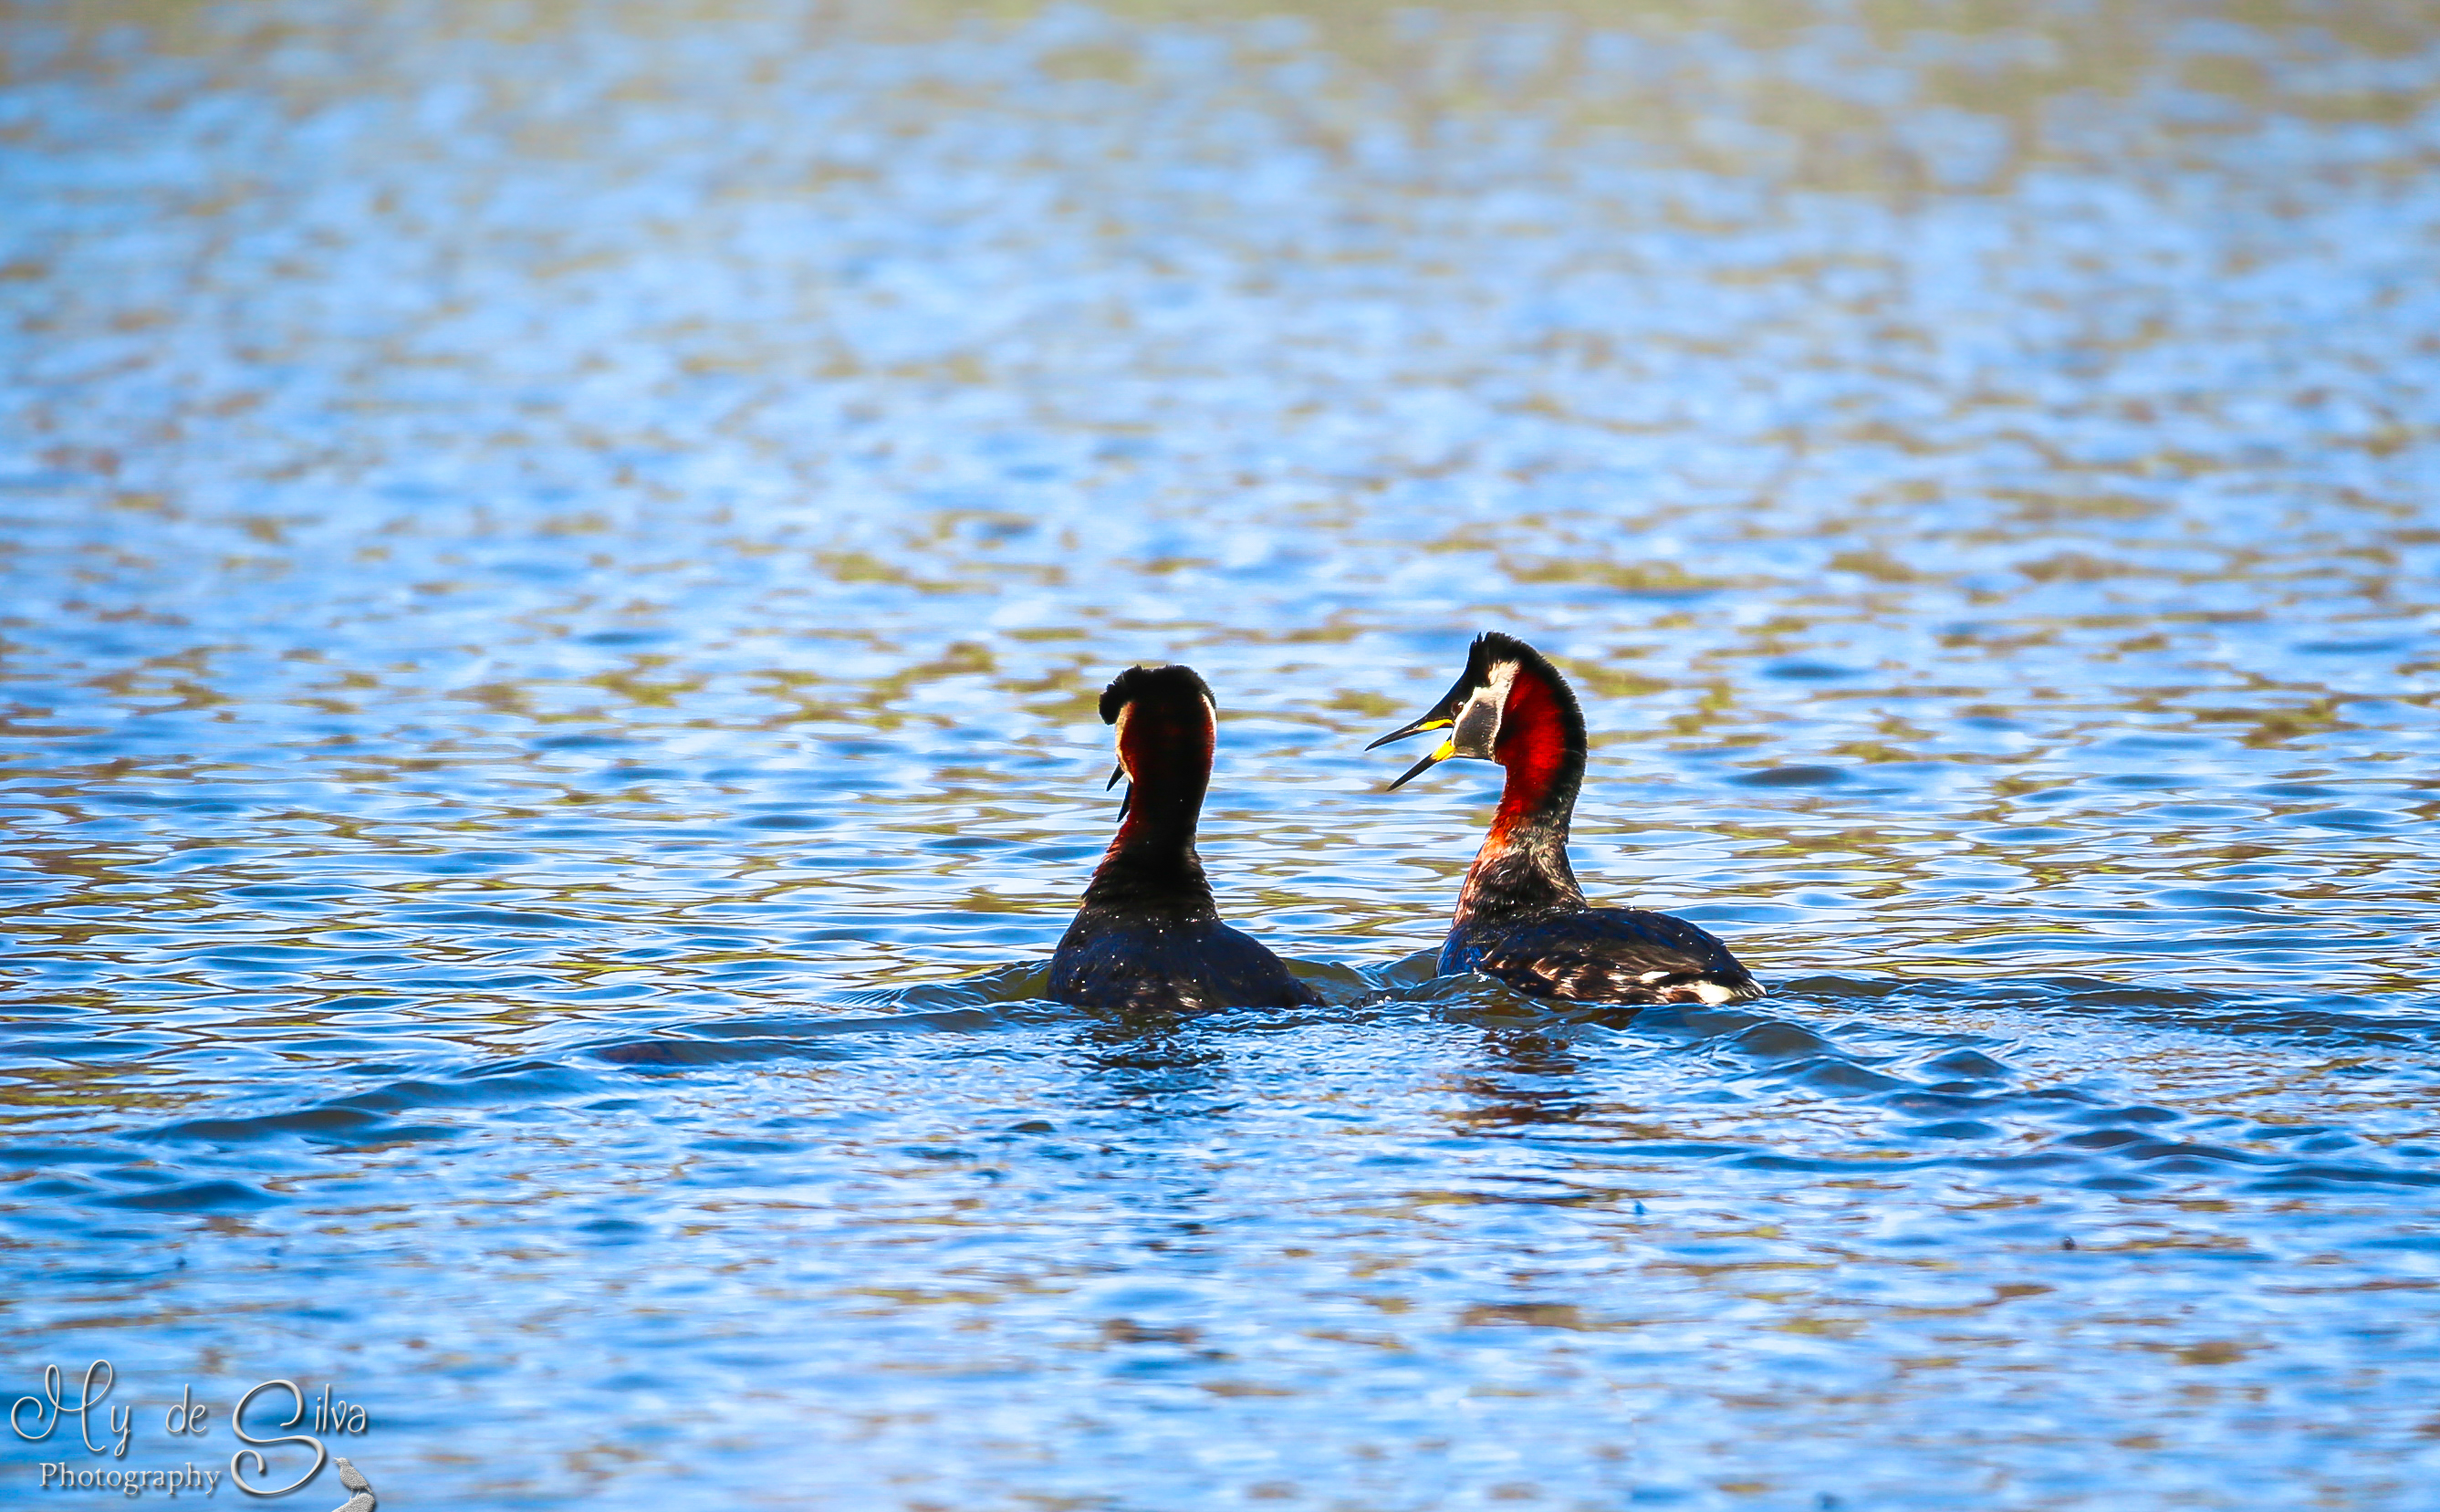
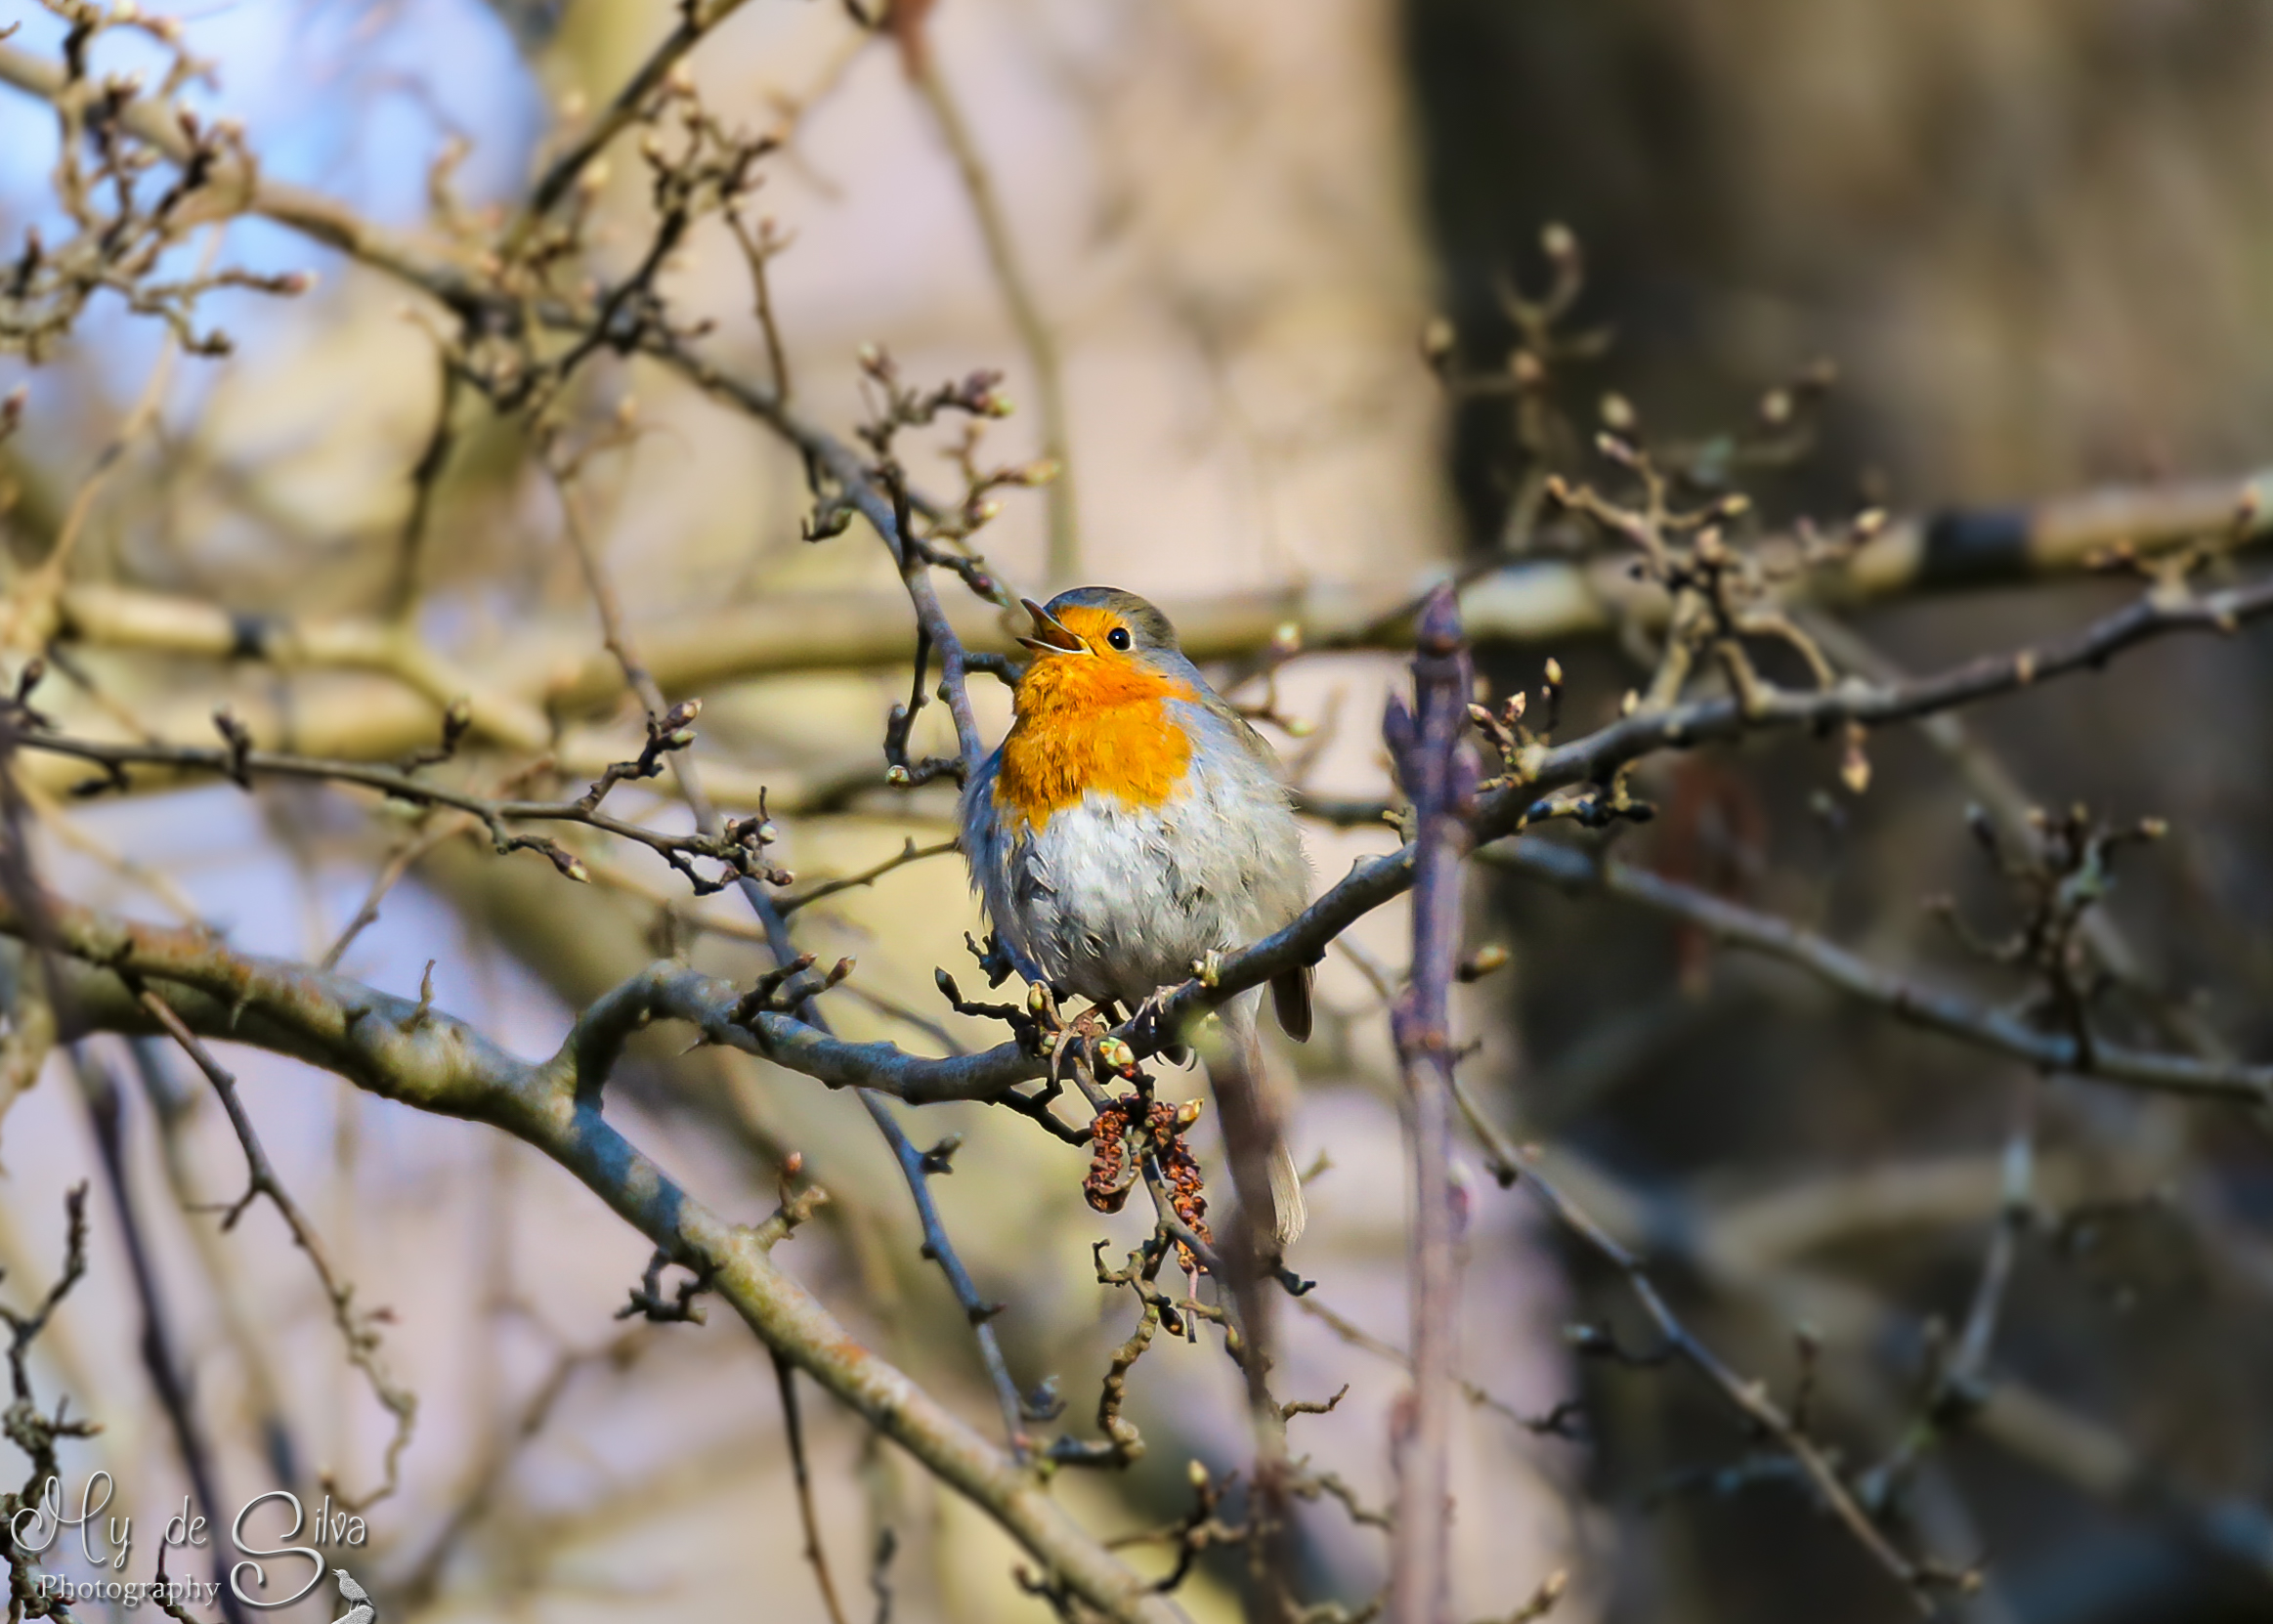
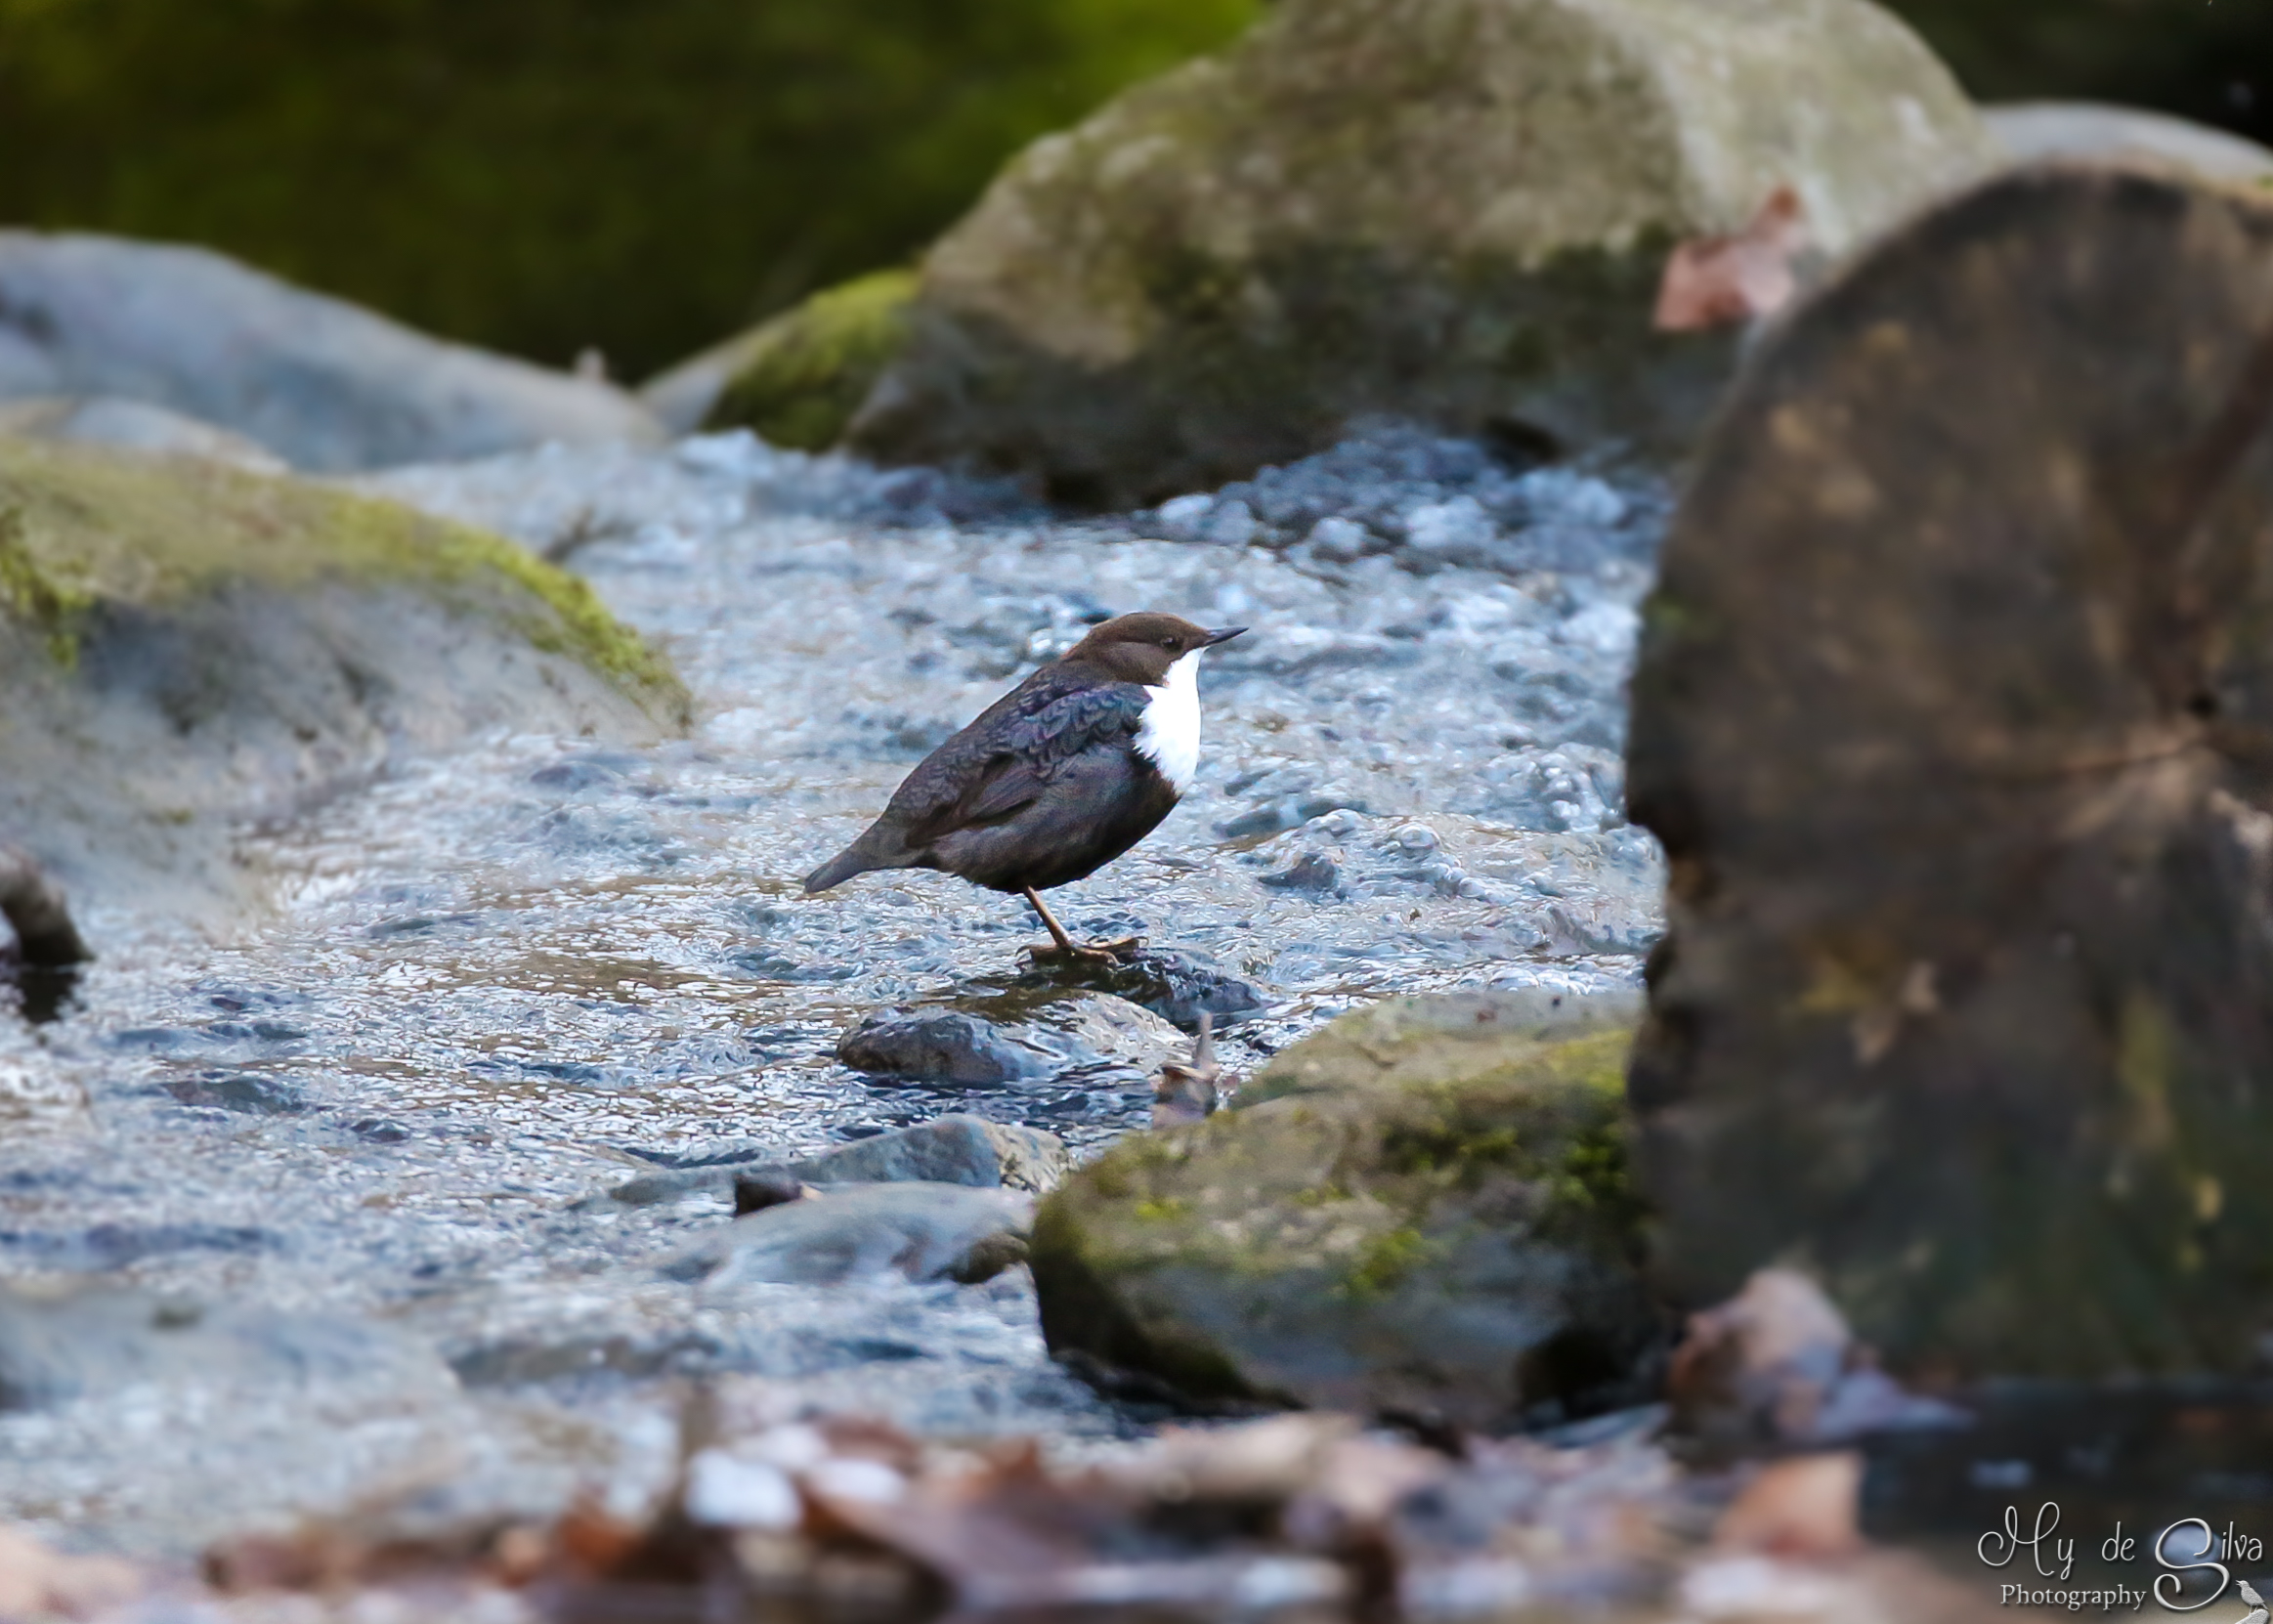
So you want to challenge yourself with bird photography? Good choice! I love bird photography bacause it is a challenge that takes patients and endurance. With a bit of practice you might come close to the birds and take nice close-ups, without disturbing the birds of course.
Here is my best tips when it comes to bird photography:

I wish you all the best on your new adventures!


Expressive Photos©2023
Do not steal pictures from internet
Do not break the copyright law
It has come to my attention that some of the pictures I have on this site has been used for commercial purposes. If you steal a picture from the internet you are breaking the Copyright law. That can result in penalty and 2 years in prison. So think about that before you even think of copying/taking a picture from the internet.
It is always best to ask the person who have taken the picture for permission if you are going to use it for your own use, not commercial.
My pictures have been made into paintings, canvas, reprint and even coffee mugs etc. Lots of so called “artists” use picture they find online by searching for a animal and then steal that picture to make it part of their own “art”.
What should you do if someone steals your picture that you have put on the internet?
First of all, you have the law on your side if the picture is yours.
If you find someone is using your picture and selling it in some onlineshop then you need to contact that shop and tell them they are breaking the Copyright law and ask them to remove the picture. Usually this will help because none wants to break any laws if you are a shop owner. You just need to send a link to your page where the picture is to prove that you own the picture. Then it is also a good idea to give the link of the “art work” on their site so they can see the stolen picture that has been used.
How can you find out if someone is using your picture?
One easy way is to use google image search. You right click on the picture you want to know about. Choose “Search Goggle for image”. Then you will see all the pages that have your image.
Use Copyright notice
I got the advice from WordPress support to add a copyright notice so that visitors will be aware of what will happen when they take a picture. There is a page called creative commons where you fill in some options and that will create a link/icon which you add on your page to look like this:

This work is licensed under a Creative Commons Attribution-NonCommercial-NoDerivatives 4.0 International License.
This icon stands for different demands that the user can choose from. The icon above means you can share but not use for commercial use, if you use the picture you have to give credit to the person who took the picture. You can not rebuild or remake the picture. For more information about this the creative commons page will explain it.
2017©Expressive Photos

Slooooow shutter speed
Some people work in a office all day, some people work with sparks
Catching the sparks from the fire is easy. You just slow down the shutter speed and you will have long sparks coming out from the fire, instead of small dots. Check the below pictures to see the difference between fast and slow shutter speed.
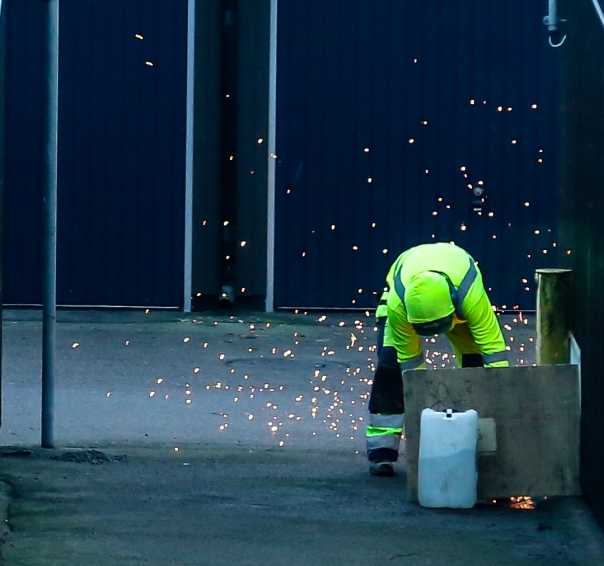
Fast shutter speed: Shutter speed is at 1/100 of a second and the sparks looks like dots
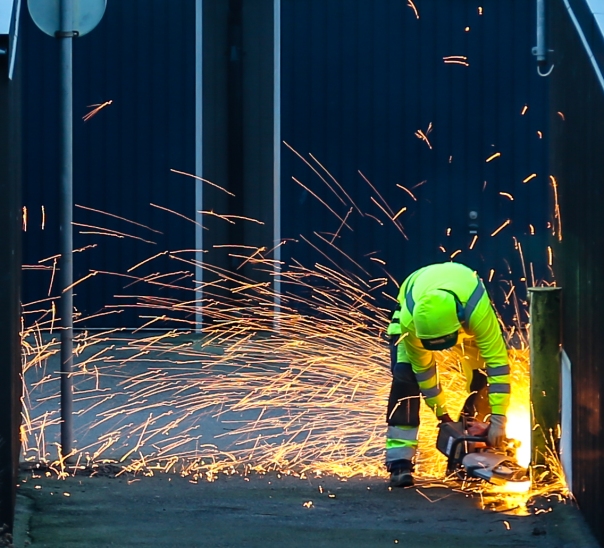
Slow shutter speed: Shutter speed at 1/13 makes the sparks longer
In these pictures I am using a shutter speed of 1/10 to 1/13 of a second.


I have croped out a little part of a big picture to only focus on the worker. So the sharpness might not be so good since he was pretty far away when I took these pictures. If you are wondering what he is doing then he is removing s steel pole. These pictures are taken with Canon 6D (full frame) and 24-105mm lens at f4 and f5 with ISO100 to ISO160.
When is it usefull with slow shutter speed?
- when you want to create cool light messages. You can write words with a flashlight and using slow shutter speed to create bright letters
- when taking pictures of fireworks
- if its pretty dark out and you want the picture to capture more light then slow shutter speed is a option, dont forget to use a tripod
- when taking pictures of cars head ligths or tail lights on a road, you might have seen the night pictures of red or yellow lights that are like lines on the roads. That can be made from very slow shutter speed
To control the shutter speed you can use the option called TV (Shutter Priority Mode) on Canon and S on Nikon.
2016©Expressive Photos

With a little help of Lightroom
Frustrated with your pictures being colorless?
Picture this scenario. You are seeing something that you want to take a picture of and when you take the picture and see the results in your camera or computer it does not come out quite the way you wanted it to.
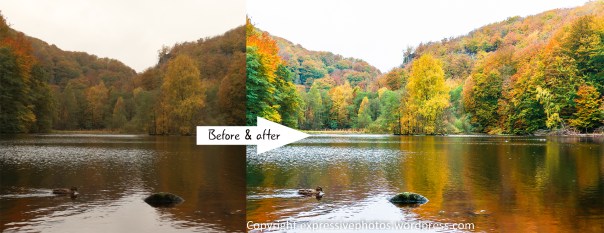
Then there is a solution for that. It is called post-production. It is what all professional photographers do to their pictures, to make it look even better. So you do not have to feel ashamed for using a little help from example a program called Lightroom. I want to show you a before and after pictures to demonstrate what I mean. See the examples below, you need to click on the pictures to get a better comparison:

Before and after post production
The picture to the left was taken with the “shade” option, therefore it is more yellowish. In Lightroom you can easily adjust this to make it look more natural. It is more colorful on the picture to the right. The picture below shows a dark picture inside the forest. It is hard to get the right brightness when you take a picture. It is easy to fix in post-production.
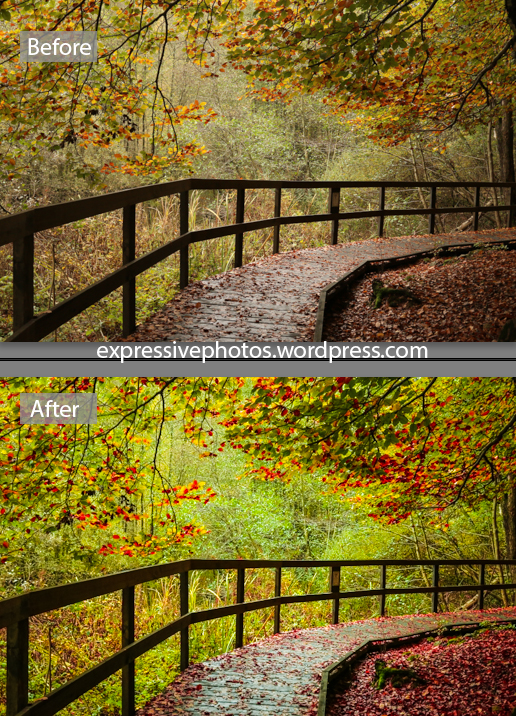
Here is a final one that I like to share with you all. When you load a picture in the camera and watch it in the computer it can be colorless. With Lightroom you can bring out the bright colors and give the picture life again. There are many programs that can do this for your pictures for example Photoshop, Gimp (free program) and Topaz just to name a few.
I hope you have got some inspiration to work on your pictures now, it is worth it!
Do not forget to press the “follow” button to get yourself updated on more upcoming tips.
2014©Expressive photos

Extension tubes, close-up filter or macro lenses – What to choose for macro photography?
What is the best way to get closer to the object?
You can choose for example macro rings, extenders, close-up filters or you can go for the real deal and buy a macro lens.
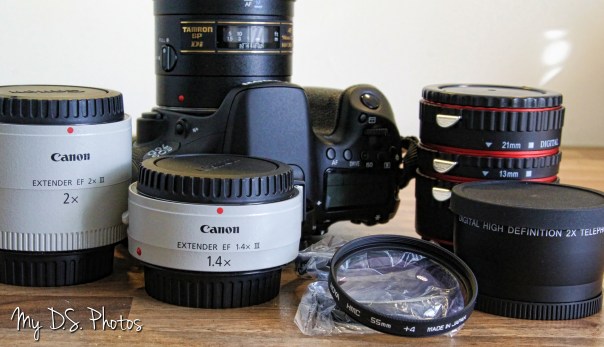
The good thing with extension tubes is that you do not need to have a macro lens to use them on. Any lens can become a macro lens with a little help of macro equipment’s. Although the real deal, a macro lens, always gives the best result. Since a macro lens is intended for macro photography it is easy to get good result without any fuss. If you use close-up filters it might take longer time to get ready when you change between the different strengths. There are usually 4 options to choose from. They are for example +1, +2, +4 and +10. It also depends on what brand you buy. Some brands are cheap and might not be as good in clarity like the more expensive and well known brands. It all depends on how much time and money you want to spend on macro photography. If you only want to try something out then it is fine with the cheaper versions but if you want a good result you need to go for the more expensive versions.
On the picture above I am displaying one extender with 2x magnification and one with 1.4x from Canon. There is also a Tamron 90mm f/2.8 macro lens. Close-up filters from Hoya and extension tubes and another extender with 2x magnification from unknown brands.
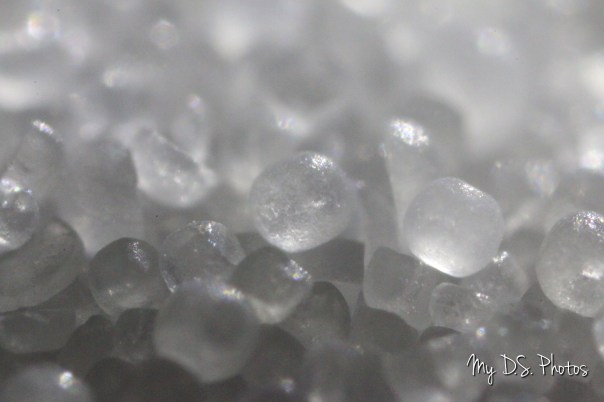
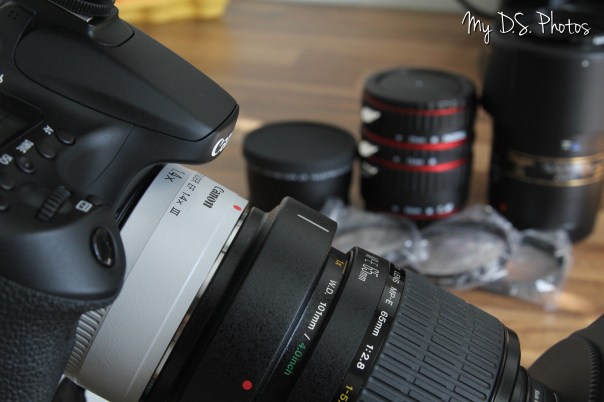 If you are not happy with the magnification you can always combine 2 equipments. For example I have combined a Canon Extender 1.4 with a 65mm macro lens 1-5x. This combination gives me a chance to come really close to any object. For example if you would take a picture of salt you would be able to see the crystals on the grain of salt. With the combination seen on the picture above I get this close to the grain of salt:
Try your own combination. Let me know which one is your favorite macro equipment?
2014©Expressive Photos
Photos for ads
Do you want to sell something? Then take pictures that makes the item more interesting. It is good to display several pictures rather than just one.
In order to stand out from the ads that are online you have to take special angles of the item you want to sell. Maybe a macro photo on the features that you want to put focus on for the potential buyers.
Lets say we want to sell a electric guitar. Many ads have pictures of the front of the guitar. There might only be one picture and from that you have to form a decision if it is interesting for you or not.
With pictures you get the chance to show off whatever you are selling. In our case you have to give life to a electric guitar and give a full story and make sure to show the guitar in a new perspective. The picture below are close ups to display parts of the guitar. It makes it more interesting and you want to know more about the guitar by just showing some bits of it. You have to create that feeling for the ones checking the ad, keep it interesting and do something new. It will definitely catch someones eye and hopefully lead to someone wanting to buy it.


I found the ad below for a guitar and have written few things that is wrong with it.

It is the guitar you want to sell so put it in the spotlight. I will show you what I mean by showing 2 pictures of how you can display the whole guitar. Keep it simple and only show the electric guitar without any distraction in the background.


If you are planning to put in an ad for something I hope you have got some tips on how you can display an item. Use lots of light and take pictures from a unique angle. Create interest!
2014©ExpressivePhotos
Slow shutter speed
What happens when you slow down the shutter speed?
– it can get a smooth water flow in rivers
– lights from cars will build a stream of long lights
– with the help of a flashlight you can write messages in the dark
There are probably other things you can take pictures of as well with low shutter speed. I am only mentioning the realistic ones which you can try out.
Experimenting with slow shutter speed
I was in a car and had nothing to do when I was waiting for some people to buy some stuff in a store. I saw a truck that had the lights on so I thought I might as well try to have some fun while waiting. I reduced the shutter speed to 6 seconds.

Choose shutter speed
See the picture above to know what I mean. Then aim at something that is bright, like a lamppost in the night. Then take the picture and under the 6 seconds you got move the camera around and build some patterns of your like. Then the picture will come out looking something like this:


If you press the pictures you will see information in the right corner about the setup for the pictures.
2014@ExpressivePhotos


